
Using Shopify Webhooks
I recently was asked to go help on retrieving data from Shopify and I discovered Shopify had webhooks. They are simple to use and I have had to help on a few projects with them.
With the Shopify webhooks you can use them to retrieve information on a 'Order creation', 'Cart update', and a variety of other actions that you can trigger the webhook on. If you are wondering where does this come in handy, is if you need this information yourself to sync to your system or other systems, it becomes very useful.
I'll go through a basic setup of a Shopify webhook.
From your Shopify account, go to 'Settings':

From there you will see 'Notifications', click on that:
Once you are in the 'Notifications' section scroll to the bottom and you will see a 'Webhooks' section:
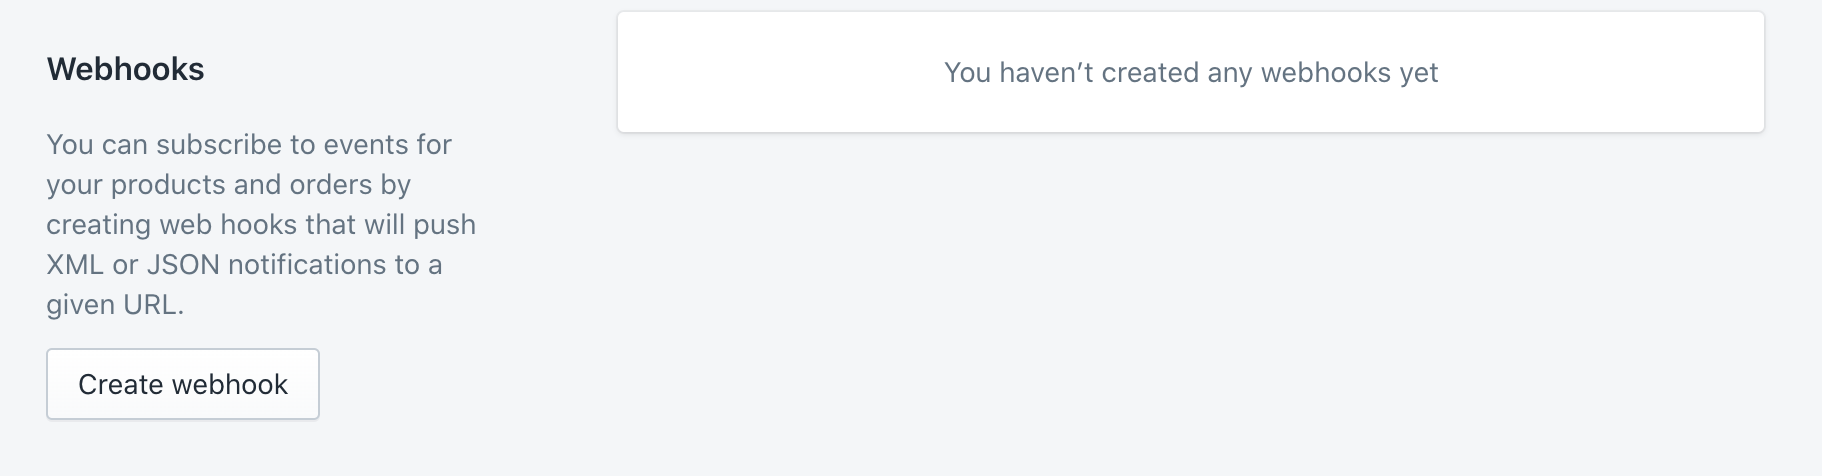
This is where we will create our webhooks, click 'Create webhook', you will noticed there are a variety of webhooks you can create.
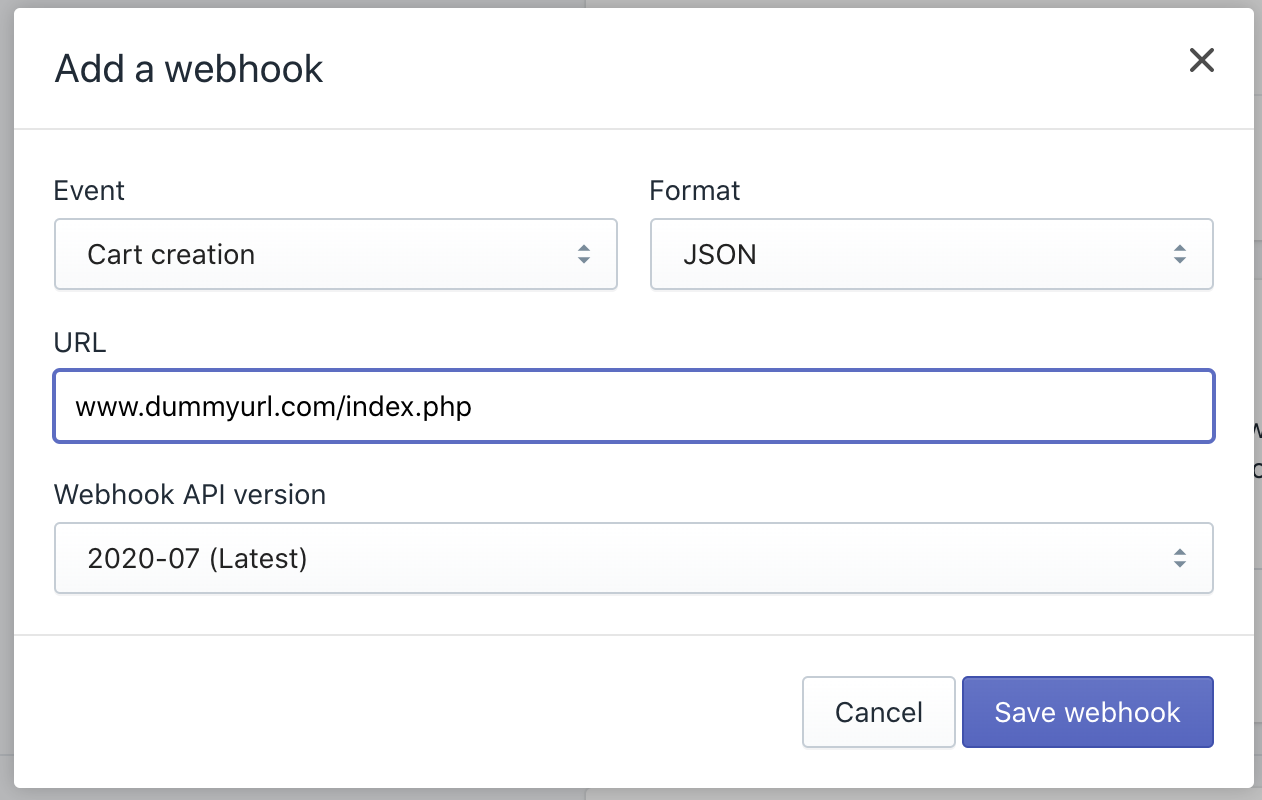
Specify the event. The data that will be posted to your server in two formats: json or xml. I prefer to work with json. The URL is the destination of where you want the data to be posted, you can also speficy which Webhook API version to be used. Once you create the webhook, it should generate a key that you can use to authenticate the post.
That is it to set up a basic Shopify webhook, if you have any questions, feel free to reach out to me.